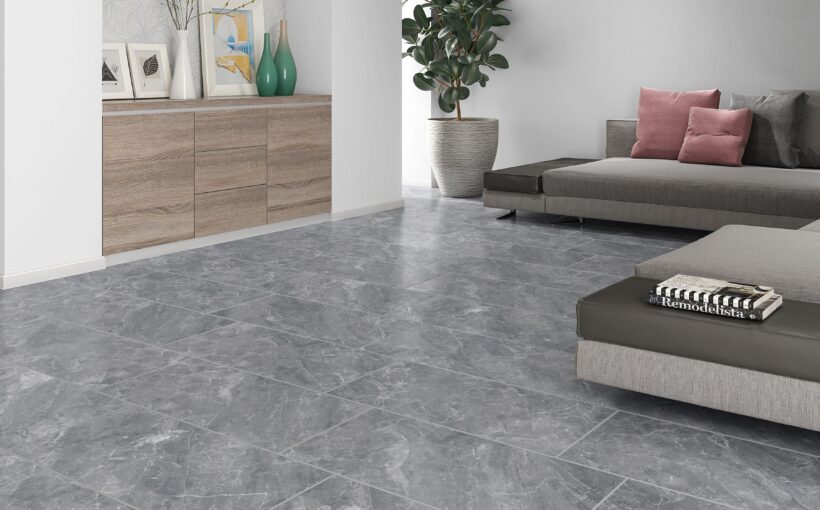
Ceramic floor tiles alone as home décor materials can transform your living space into a mini paradise and add significant value to the entire property. I don’t know about your taste and preferences for beautifying a home. But, I am confident you would appreciate the unique glamour and luxurious feel ceramic floor tiles can add to your space.
More interestingly, ceramic floor tiles can work wonders in any given space, whether in the interior or exterior part of a home. You will love them in your living room, kitchen, bathroom, patio, garden, walkway, and pool tiles at swimming pools.
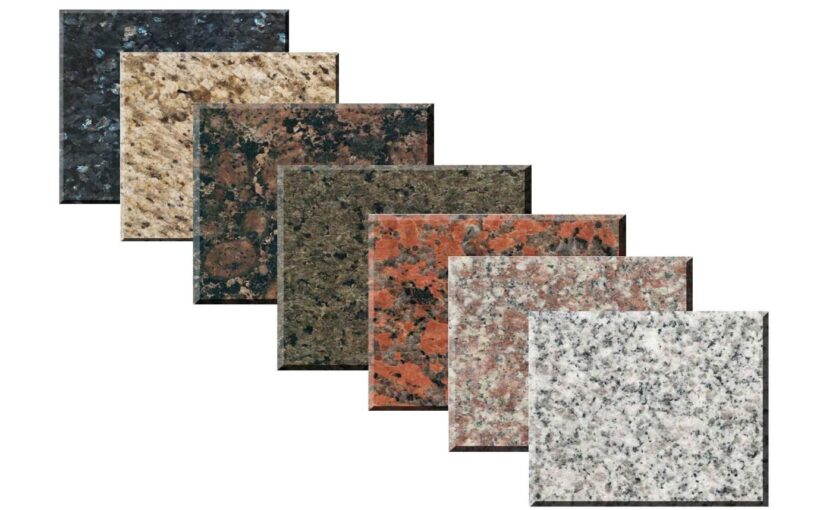
Aside from the luminous beauty, they add to a space; ceramic floor tiles are exceptionally durable. And, that is one of the most attractive benefits that make the classic tiles every homeowners’ favorite.
Ceramic floor tiles can last beyond a lifetime. Many of the old buildings out there whose constructions are dated as far back as three centuries ago still have solid flooring where visitors can stand comfortably without the fear of sinking. If you check the flooring, the ceramic floor tiles still look solid. Wouldn’t you like to install floor tiles that can remain intact till the next generation comes? I wouldn’t have said ‘No.’
If you’re reading this article, it is reasonable enough to guess that you already have some ceramic floor tiles in one corner thinking about how to give your space a befitting flooring. Or, you want to know if you can handle the installation process yourself before you dash to the market.
Whichever place you belong, you will be glad to hear that ceramic tiles are among the few floor tiles suitable for DIY techniques. It doesn’t matter whether you have ever installed floor tiles or not; all you need is a comprehensive DIY guide to decorate your floor with ceramic tiles. Meanwhile, installing ceramic floor tiles can be somewhat complicated though strong. As much as you can lay them quickly without a single tile breaking, you still need proper preparation and special care to do a neat job that will win people credit without bias.
If you care for the best result, it is ideal to have a clear plan to see the entire project through. It is also advisable that you remain patient throughout the installation process as a whole. Of course, your appetite for the gorgeous look it would bring to your space might cause you to be a little bit hasty when installing the floor tiles. But, if you rush it, your ceramic floor might not survive the daily wear and tear.
Keeping that in mind, this detailed step-by-step guide will help you get the best result for your DIY project.
Step 1: Prepare the floor
I know you can’t wait to start laying your ceramic floor tiles, but you must take your time first to assess the floor and make sure it is adequately prepared.
While preparing your floor, thoroughly check the surface where you want to install the floor tiles to see if the subfloor is even and thick. As solid and robust as ceramic floor tiles, they will crack if the subfloor is not suitable for the installation.
It is best to make a concrete slab as the base for your ceramic floor tiles. However, wood can be a good substitute. It is also crucial that you smoothen the subfloor surface and ensure it is flat. Installing your ceramic tiles against a protrusion can make the floor sloppy when you are done.
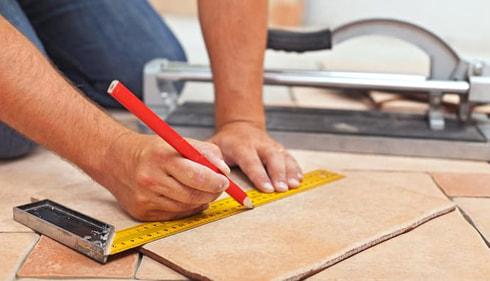
Step 2: Measure the surface
Before you start laying ceramic tiles on the floor, it is essential that you first figure out the number of floor tiles that will contain the space and how you should place it to get your desired result.
You want to achieve a perfect design with an asymmetrical; look, so you will have to get the center of the space where you will start the installation. Once you have identified the starting point, the rest is simple. You also need to check out the squareness of the space. A miss in that aspect can mar the whole installation.
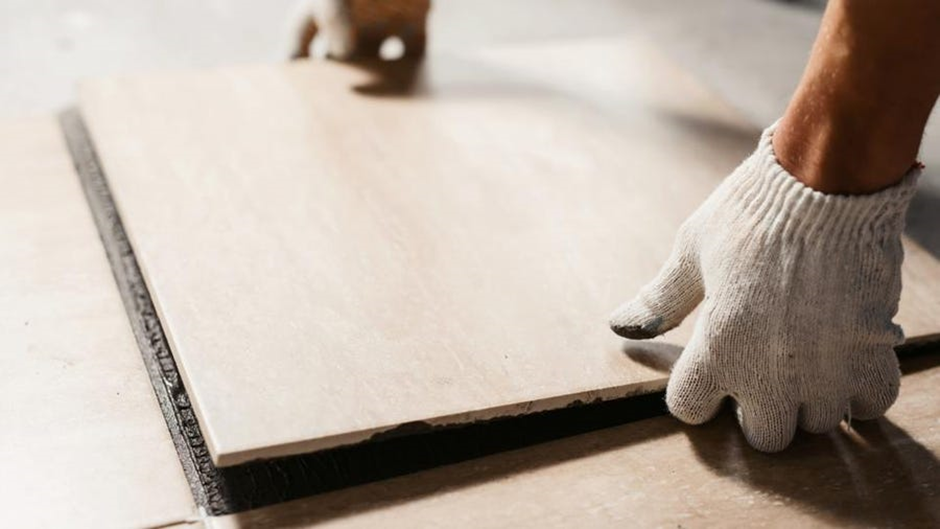
Step 3: Determine the layout
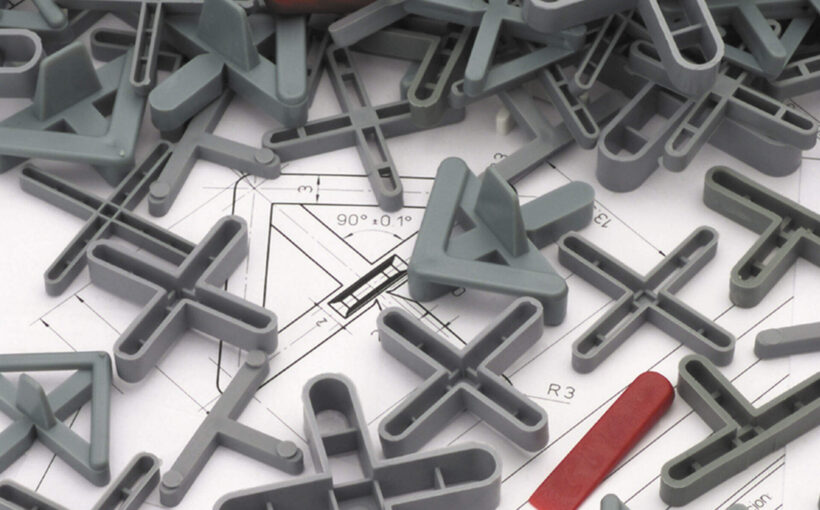
The prep work is not over yet. Before you touch the ceramic floor tiles, you must have determined whether the layout is even or not. The layout is the skeleton of the design you intend to make with your floor tiles. The most recommended technique for checking layout is to first set the tiles on the surface to see the outcome after installation. At this juncture, check whether the spaces between the tiles are even. Make sure you don’t bring tiles too close to one another.
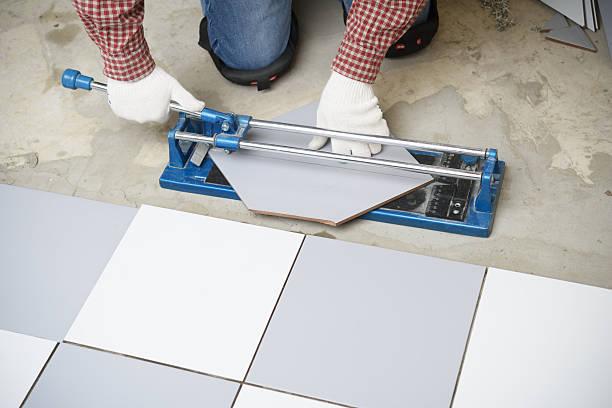
Step 4: Cut the tiles
It is now time to cut your floor tiles. Meanwhile, let me break it to you that ceramic tiles can be dangerous if the edges touch your skin. Entirely, the cutting process is the most delicate part of the installation. If you are not careful enough, you might sustain injuries that may even hinder you from laying the tiles. Hence, make sure you use the right tool and be very patient while cutting.
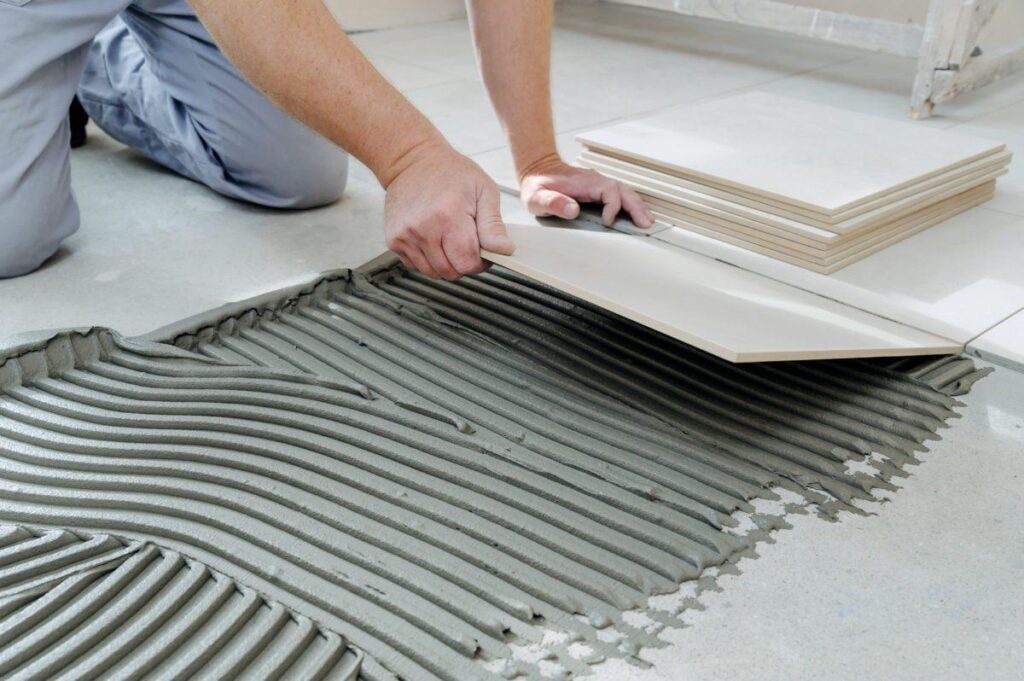
Step 5: Spread the mortar
After you cut the floor tiles, the next step is to mix the mortar thin-set with adhesive. Before applying the adhesive, make sure that you check the label to know how long it takes to dry. After mixing, wait for about ten minutes you spread the mortar on the floor’s surface. You will need an excellent trowel to apply the mortar to give you a balanced level evenly.
Step 6: Set the tiles
It is time to lay your ceramic floor tiles on the ground surface gently. Note that this step is very delicate. You will have to be patient enough to get the correct result. Spear your fingertips open and put the floor tiles down to set them in place firmly.
Final Words
Well done on an excellent job! Suppose you adhere to the above-listed installation steps. In that case, you might have successfully made a remarkable transformation not only on your floor but also the entire living space. Though the process might take time and be hazardous, the outstanding result will compensate for the stress.