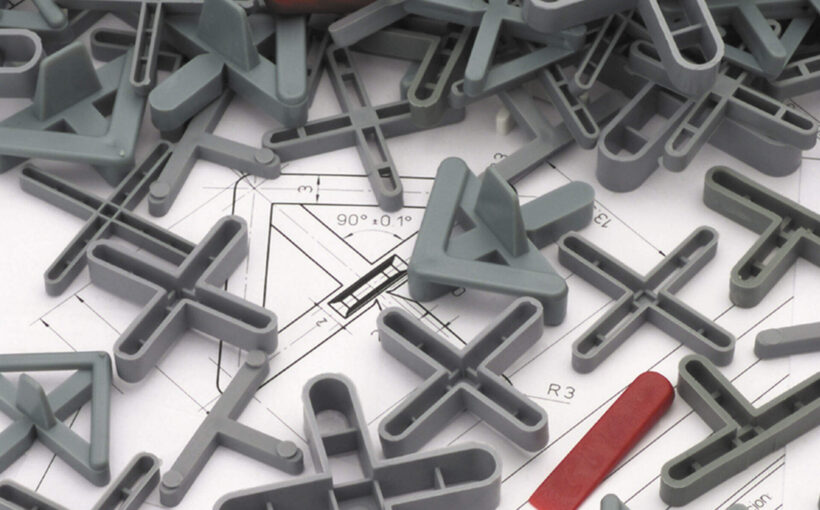
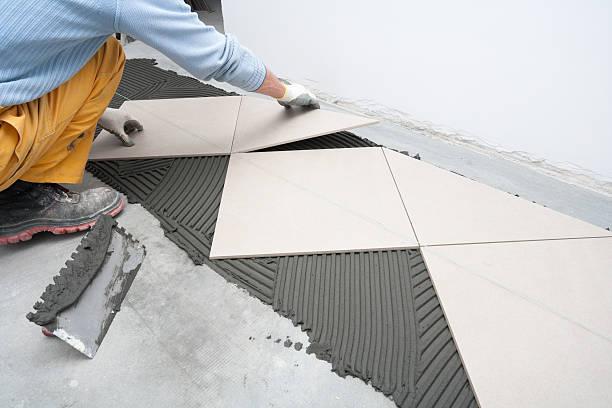
Tile spacer is the magic wand that helps tile installers to achieve their most intended designs without stress. Even an amateur, you can create a perfect outlook in your space if you know how to use tile spacers very efficiently.
Tile spacers offer more than helping you to get uniform spacing between your floor tiles. They can make the entire installation faster and better. When you have a big tiling project, the manual spacing will drag down your speed and increase the stress of the job. But with suitable tile spacers in your toolbox, you can go ahead to lay your floor tiles to create your customs designs.
Though tile spacers are easy to use, you might not get the best result unless you learn the nitty-gritty. Being an amateur, you can’t just pick them up and start using them. As simple as they may seem, you will need a professional guide to get the best results. With that in mind, check out the below-listed five best tips to help you maximize the use of your tile spacers when laying your floor tiles.
1. Make sure you get the best quality spacer
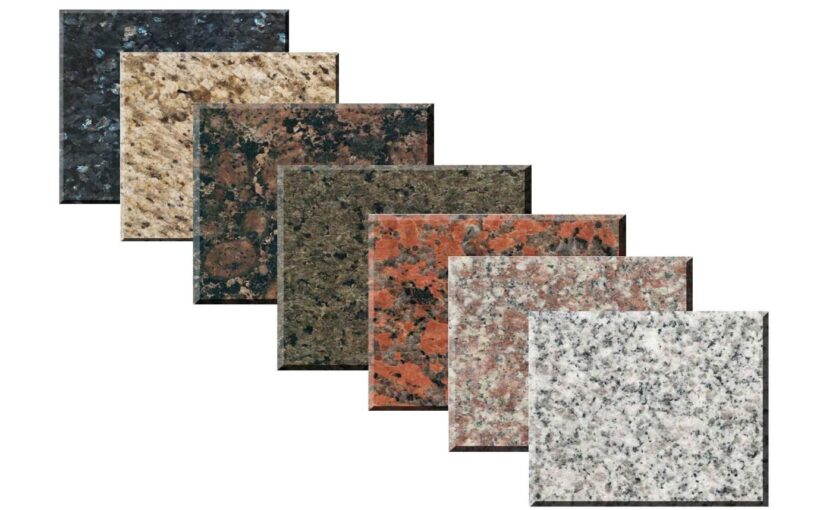
Have you seen some floor tiles that are not well spaced out? Most times, it is not because the tile spaced them manually. It is because he used cheap spacers. If you want to get a perfect even space for your floor tiles, it starts from purchasing the suitable tile spacer.
In these modern days that everyone wants to break into the market and make some cash; there have been so many low-quality products in the market space. That is why you need to be extra careful when buying your tile spacers.
High-quality plastic tile spacers are not expensive. So, you don’t have to compromise quality to save some money. Cheap, cut-rate tile spacers can mar the entire tiling project. Your floor tiles may end up looking crooked or even wobble. The reason is that it’s always tricky to remove low-quality spacers from the finished floor tiles, which would eventually spoil your neat arrangement when you try to force them out. Click here to get more about tiles installation.
2. Determine the correct number of spacers needed
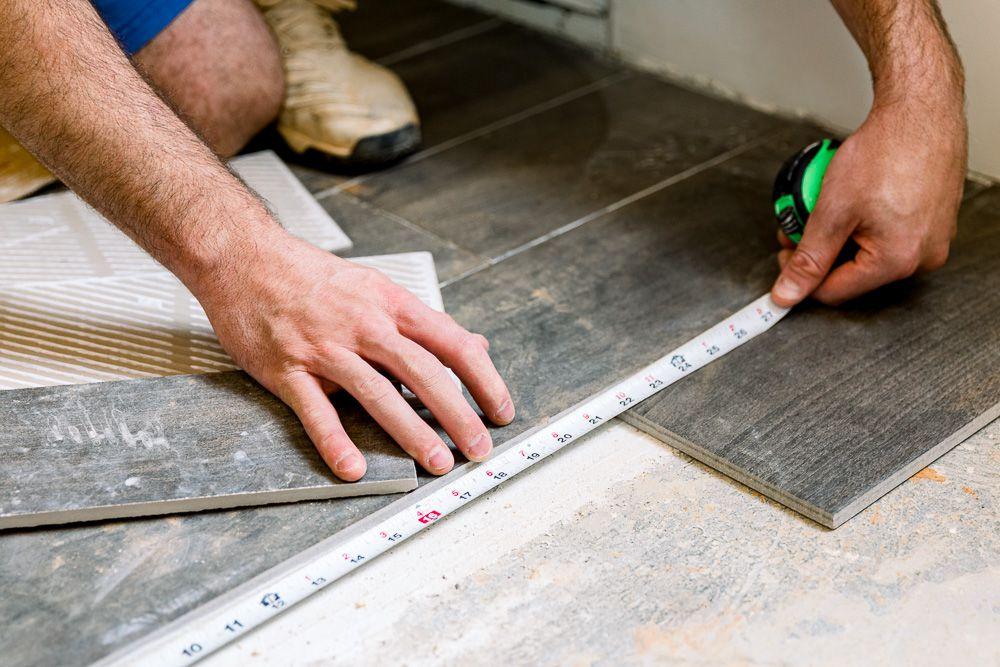
Before you buy your tile spacers, it is essential that you first make an accurate estimate of the number of tile spacers you would need to lay your floor tiles. I used the word ‘accurate’ because you need to get the actual amount.
If you overestimate, you will spend your hard-earned money on tile spacers that you wouldn’t use throughout the installation, which could amount to a waste of money. If you underestimate, it will affect your speed and even accuracy. Hence, you must know how to calculate the correct number of spacers required for your project.
Meanwhile, you don’t have to be a professional tile installer with several years’ experience before you can make an accurate estimate of the tile spacers needed for your given tiling project. It is easy! So, how do you make the proper estimate? You need to multiply the number of the floor tile sheets you want to lay by 4. It is that simple. The answer you get will give you the right amount of tile spacers you need to finish the project.
Though you ought to be careful not to buy excess spacers yet, it is advisable that you get some extras in your toolbox if any of the ones you intend to use gets damaged or you misplace them.
3. Don’t allow the tile spacers to stay too long with the floor tiles
You need to know the right time to remove your tile spacers. If they stay too long, they can get stuck in the floor tiles and become hard to remove. Forcing your tile spacers out would affect the uniformity of the tile spaces, affecting the overall beauty of the flooring. And, if you remove them before time, it may cause the floor tiles to shift and result in to wobble layout.
It is best to remove your tile spacers between 20 to 30 minutes after setting the adhesives on your floor tiles. Timing is critical in getting the best result in your tiling project. So, you need to ensure that you keep to time. I recommend that you check the manufacturer’s instructions on the manual to confirm the actual time you need to remove the spacers.
If you find it hard to remove your tile spacers, or your small, cross-shaped spacers are giving you some trouble, you can easily use a needle-nose plier to extract the spacers. For proper extraction, grab the tile spacer by the side firmly and use a vertical motion to pull it up. Make sure you don’t move your hand horizontally. It may cause your still-adhering floor tiles to shift
4. Don’t grout over the spacers
If you can’t afford high-quality spacers, you might still manage to use the cheaper ones, but you must be careful enough not to grout over them. If you do, it may get a subpar result which would affect the beauty of your flooring or damage your floor tiles.
Though it may look good for some weeks, leaving tile spacers within your floor tiles will affect the grout structure. In the long run, you may begin to notice some ‘X’-shaped cracks on your floor tiles.
Whether you are using high-quality spacers or can only afford the cheap ones, make sure you don’t grout over them. Even if they get stuck, pull them out with a plier or chisel before applying the grout.
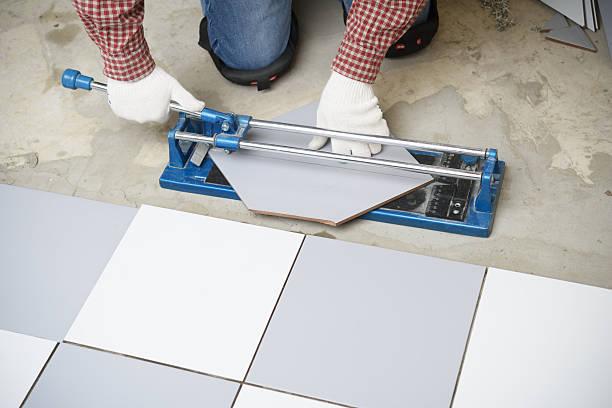
5. Cut the floor tiles properly
Make sure that you cut your floor tiles perfectly before laying them on the floor. That is one of the best ways to make your tile spacers work more efficiently. It may be hard to get good spacing if your tiles are not perfectly straight, even with high-quality plastic spacers. Spacers can correct crooked tiles. So, do well to lay clean-cut tiles before applying your spacers.
Final Words
Tile spacers can work out magic on your floor. But, you have to learn how to use them to bring out the charming beauty of even spacing that will complement the gorgeous look of your floor tiles. The above tips are efficient and detailed enough to see you through your tile spacing tasks. Also checkout: Best Bathroom Decor Ideas to Make Your Bathroom Look Fresher