Introduction
Subway tiles have stood the test of time, becoming a staple in home design for over a century. Their clean lines, versatile style, and affordable price point make them a favorite for homeowners and designers alike. Whether you’re reimagining your bathroom, creating a chic kitchen backsplash, or adding character to an entryway, subway tiles offer endless design possibilities. If you’ve ever wondered how to install subway tiles like a pro, this step-by-step guide will walk you through everything you need to know.
History and Origins of Subway Tiles
Subway tiles made their debut in 1904 when architects George C. Heins and Christopher Grant La Farge introduced them to the walls of the New York City subway system. The white, glossy, 3×6 ceramic tiles were chosen for their durability, hygiene, and ability to reflect light underground. Their timeless appeal quickly spread beyond transit hubs, making their way into residential and commercial interiors worldwide. Today, subway tiles remain just as relevant as they were more than 100 years ago.
Why Subway Tiles Are Timeless
The enduring popularity of subway tiles comes down to their simplicity and adaptability. Their rectangular shape creates order and symmetry, while their neutral style works across traditional, modern, industrial, and eclectic interiors. Subway tiles can be laid in classic brick patterns, herringbone styles, or stacked vertically for a more contemporary look. This versatility ensures they never go out of fashion.
Different Types of Subway Tiles
While the original subway tile was a white 3×6 ceramic, modern homeowners now have countless options.
- Ceramic: Affordable, easy to clean, and available in countless colors.
- Glass: Sleek and reflective, adding brightness and modern elegance.
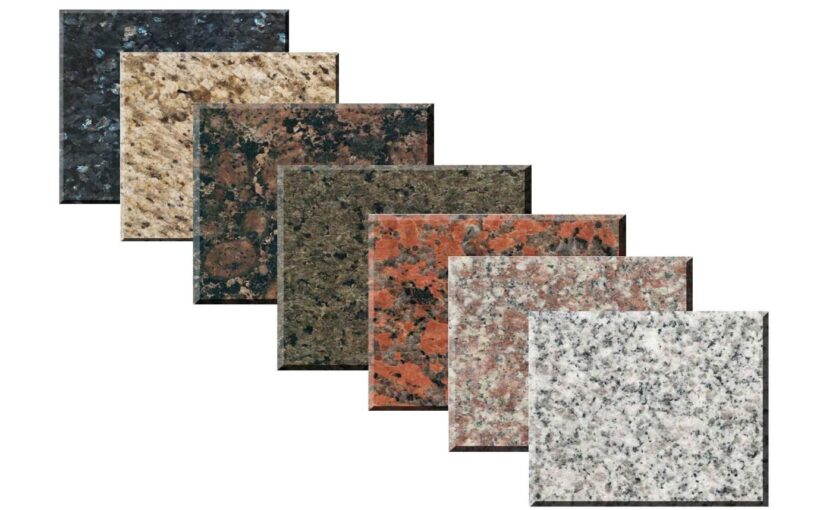
- Marble: Luxurious and natural, perfect for upscale bathrooms and kitchens.
- Porcelain: Durable and water-resistant, ideal for high-traffic or wet areas.
Tiles also come in various finishes—glossy, matte, textured, or beveled—and sizes, from traditional 3×6 to oversized 4×12 or even smaller mosaics.
See more: How Construction Surveyors Contribute to Successful Projects
Creative Ways to Use Subway Tiles
Though subway tiles are commonly associated with kitchens and bathrooms, they can be used throughout your home:
- Kitchen Backsplash: A timeless classic, especially with contrasting grout.
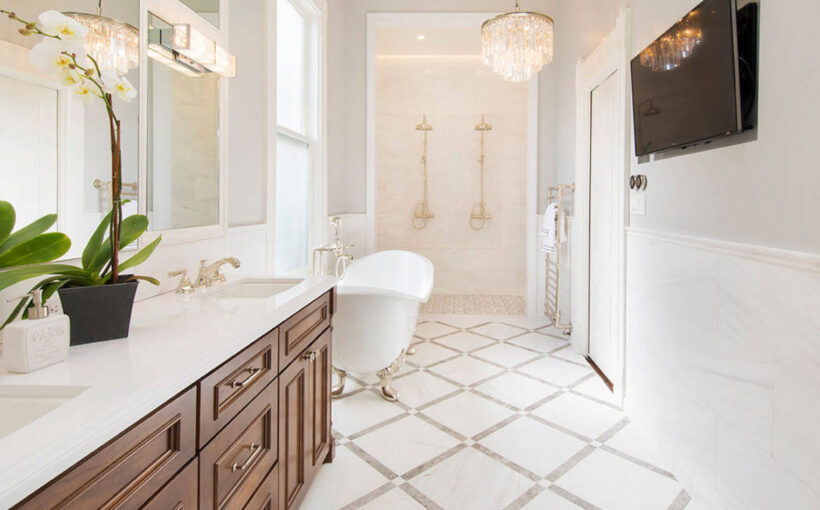
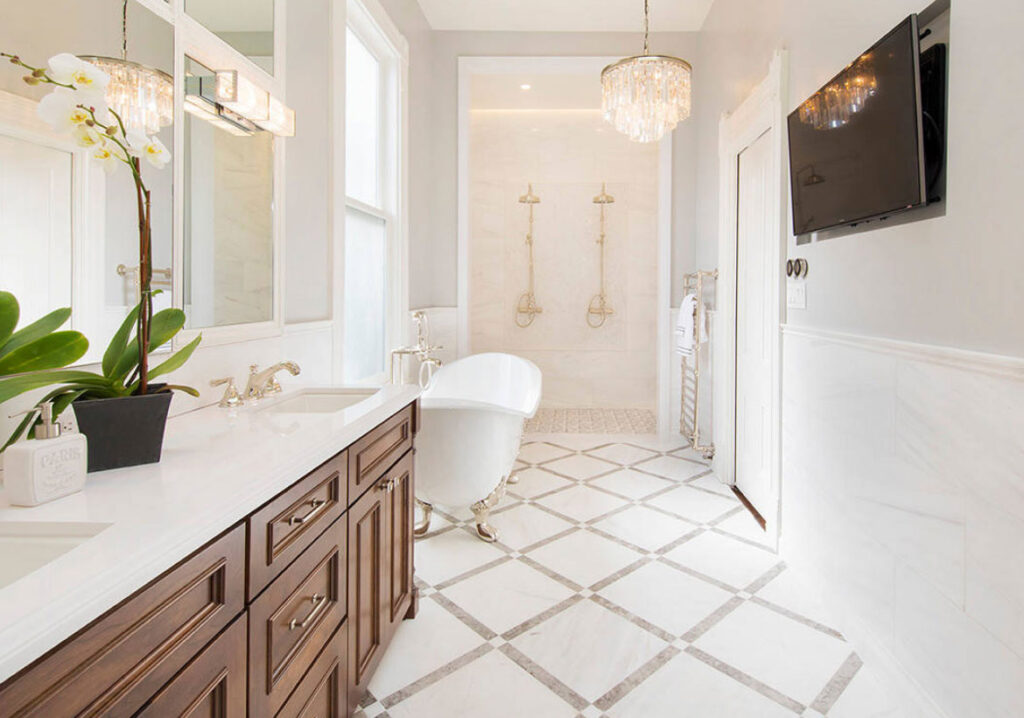
- Bathroom Walls: Sleek and easy to clean, perfect for showers and tubs.
- Fireplace Surrounds: Add a touch of sophistication and charm.
- Entryways: Durable and stylish, making first impressions unforgettable.
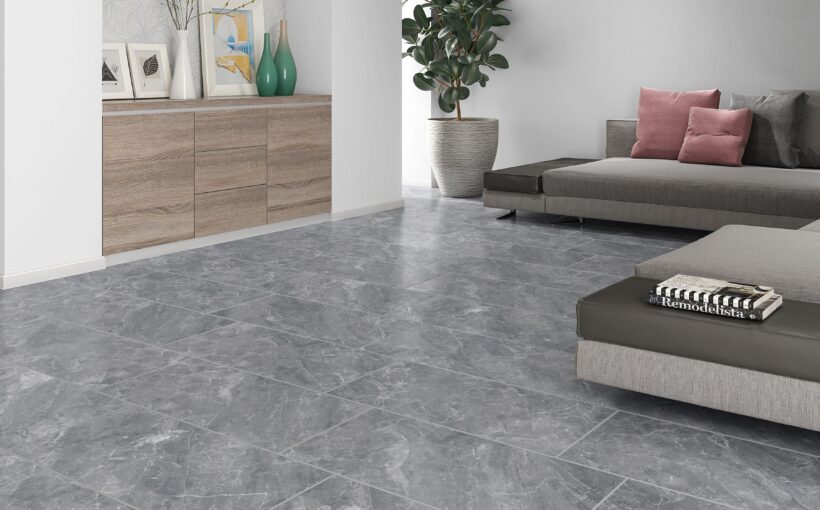
- Accent Walls: Create visual interest in dining rooms or living rooms.
How to Choose the Right Subway Tiles for Your Space
When choosing subway tiles, consider the overall design and mood of your space:
- Color: White is timeless, but bold hues like navy or forest green create drama.
- Grout: Contrasting grout highlights the tile shape, while matching grout creates a seamless look.
- Finish: Glossy finishes brighten dark rooms, while matte finishes provide subtle elegance.
- Size: Larger tiles make spaces feel bigger, while smaller tiles add intricate detail.
Subway Tiles in Modern Interior Design
Subway tiles have evolved to suit today’s modern interiors. They can be paired with raw materials like wood and concrete for an industrial edge or combined with brass and marble for luxury. Many designers now experiment with colored subway tiles, from soft pastels to bold black, to create contemporary and personalized spaces.
Installing Subway Tiles: DIY or Professional?
Installing subway tiles isn’t overly complicated, but it does require patience, precision, and the right tools. Here’s a simplified step-by-step guide to installing subway tiles like a pro:
Tools & Materials You’ll Need
- Subway tiles
- Tile adhesive (thin-set mortar)
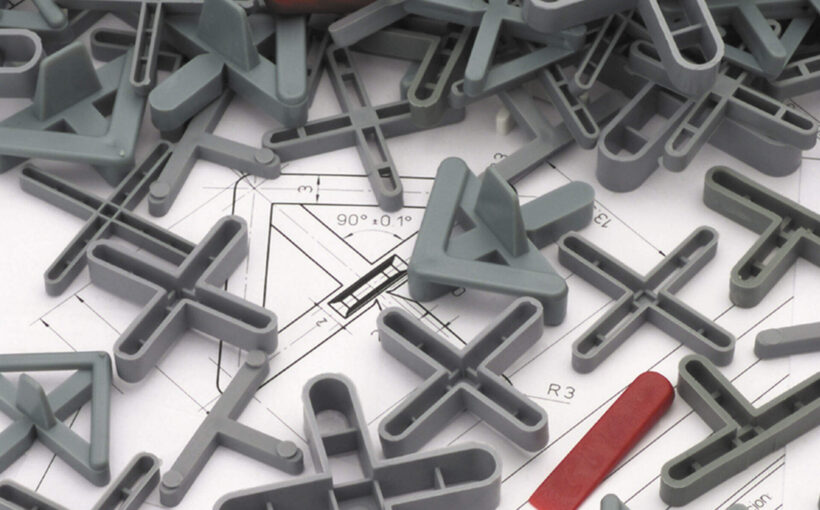
- Tile spacers
- Notched trowel
- Tile cutter or wet saw
- Level and tape measure
- Grout and grout float
- Sponge and bucket
Step 1: Prepare the Surface
Ensure your wall is clean, dry, and smooth. Repair any holes or uneven patches, as tiles adhere best to a flat surface.
Step 2: Plan Your Layout
Measure the space and dry-lay a row of tiles to see how they’ll fit. Aim to avoid having very small cuts at the edges.
Step 3: Apply Adhesive
Spread tile adhesive with a notched trowel, working in small sections. This prevents the mortar from drying before you set the tiles.
Step 4: Set the Tiles
Press each tile into the adhesive, using spacers to keep lines straight and even. Check frequently with a level to ensure alignment.
Step 5: Cut and Fit Edge Tiles
Use a tile cutter or wet saw to trim tiles for corners and edges. Measure twice before cutting to ensure accuracy.
Step 6: Grouting
Once the adhesive has set (usually after 24 hours), remove the spacers and apply grout with a float. Work diagonally across the tiles to fill the gaps completely.
Step 7: Clean and Seal
Wipe off excess grout with a damp sponge and allow it to cure. Apply grout sealer for long-lasting results.
DIY vs Professional: While DIY is rewarding and cost-saving, professionals ensure perfect alignment, fewer mistakes, and quicker results. For large or high-visibility areas, hiring a pro may be worth the investment.
Maintaining Subway Tiles
One of the reasons subway tiles remain popular is their low maintenance. To keep them looking pristine:
- Clean regularly with mild soap and water.
- Avoid harsh chemicals that can damage grout.
- Reseal grout every year or two to prevent staining.
- Wipe spills quickly, especially with natural stone tiles.
With proper care, subway tiles can last for decades, retaining their beauty and function.
Conclusion
Subway tiles are more than just a trend—they’re a design staple that combines history, style, and practicality. Their versatility makes them suitable for every room, while their durability ensures they’ll stand the test of time. Whether you install them yourself or hire a professional, subway tiles can completely transform your space, giving it that timeless yet modern touch.
FAQs
Yes! Subway tiles are perfect for small bathrooms because their clean lines make spaces feel larger. Opt for glossy finishes and lighter grout to reflect light and enhance openness. If you want to add depth, consider stacking tiles vertically to create the illusion of higher ceilings.
Subway tiles are defined by their classic rectangular shape, typically 3×6 inches. While regular tiles come in many shapes and sizes, subway tiles are instantly recognizable for their symmetry and simplicity. Their timeless design and adaptability make them distinct from other tile types.
The time depends on the size of the area and your skill level. A small backsplash may take a weekend for a DIYer, while professionals can finish faster. Larger spaces, like full bathroom walls, can take several days, especially when factoring in drying and grouting times.
Grout discoloration happens due to moisture, dirt, and soap scum. To prevent this, use a high-quality grout sealer, reapply it regularly, and clean the tiles with mild solutions. Choosing darker grout can also help disguise stains while adding contrast to the design.